
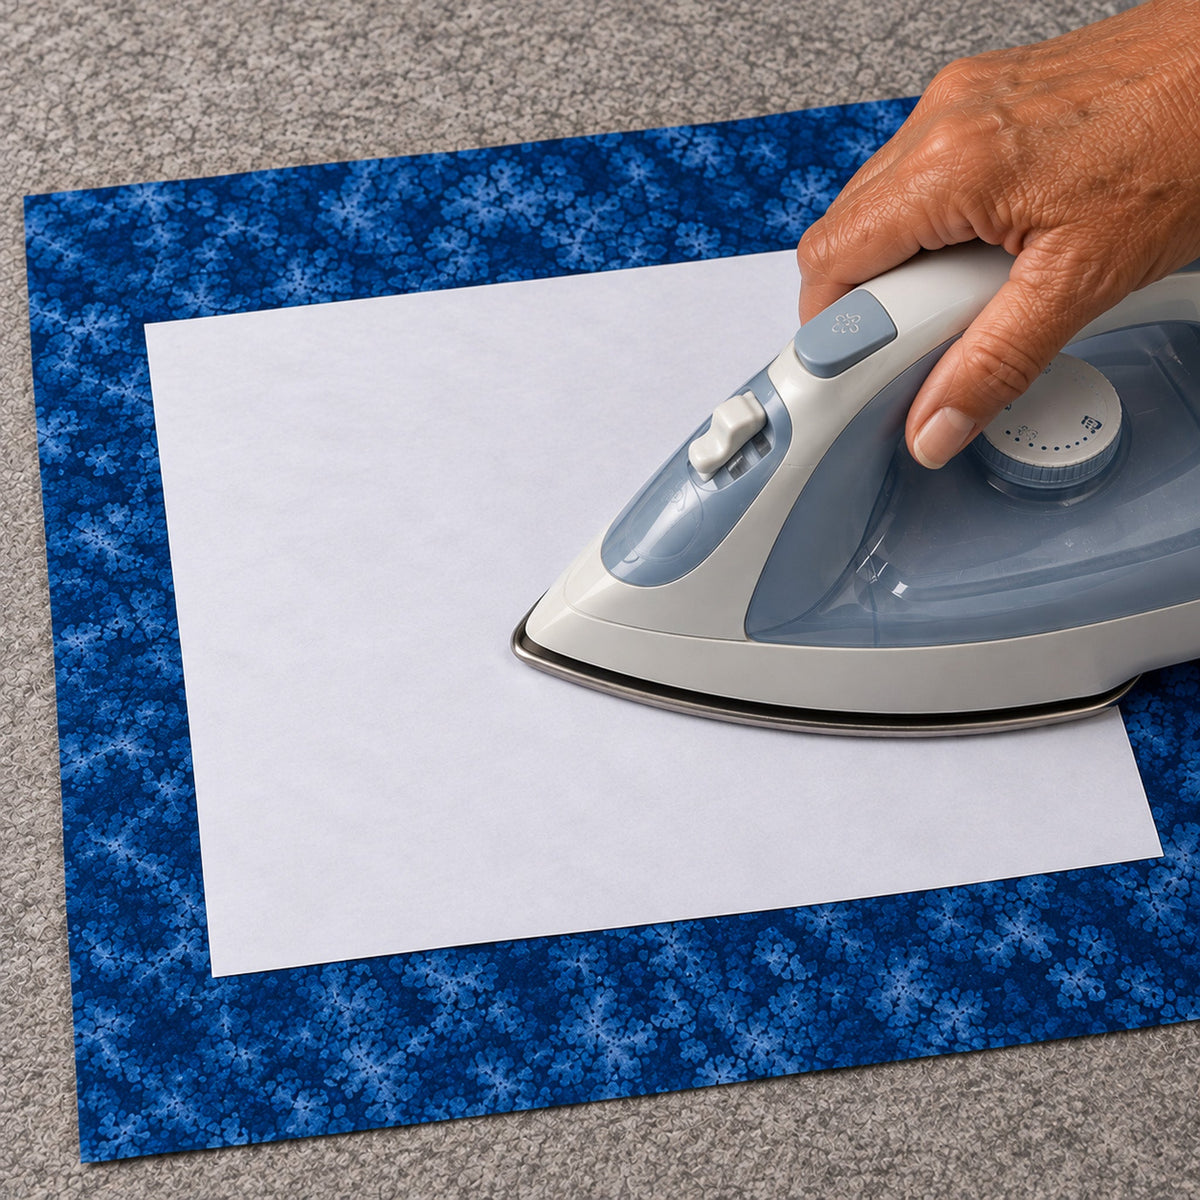
Freezer paper has a plastic coating on one side. Press that side to fabric with a dry iron and it holds the fabric firmly; peel it off and it lifts away clean, ready to press again. Quilters use that temporary hold for templates, for stabilizing fabric, for stencils, and for running fabric through a printer.
Here is how freezer paper works in applique, English paper piecing, hand piecing, foundation piecing, embroidery, printing on fabric, and stenciling, and which of the printable sheets we carry does the job when freezer paper is not the right fit.
Printable Freezer Paper Sheets
C&T Publishing's Quilter's Freezer Paper Sheets come cut to 8 1/2 x 11 inches, the size of printer paper, so you can print patterns and templates instead of tracing them. The sheets lie flat, and C&T lists them for inkjet printers. Keep them out of laser printers, which fuse toner with heat that can melt the coating inside the printer.
Print on the dull side; the shiny side goes against the fabric. A template you press to the wrong side of the fabric gives you a reversed shape, so check whether your pattern already prints asymmetric shapes in mirror image. Each template presses on and peels off several times before the coating stops gripping. The bulk pack holds 70 sheets.


Applique
Freezer paper gives you two ways to prepare an applique shape.
For needle-turn applique, print or trace the shape on the dull side, cut it out on the line, and press it shiny side down on the right side of the fabric. Cut the fabric about 3/16 inch beyond the paper. As you stitch the shape to the background, turn the allowance under with the tip of the needle, using the paper edge as your guide, then peel the paper off.
For prepared edges, press the paper shape on the wrong side of the fabric and press the seam allowance over the paper edge, often with starch, so the shape has a crisp fold before it goes on the background. The paper then has to come out, either before you stitch or through a slit in the background afterward.
Wash-Away Applique Sheets from C&T Publishing skip that last step. You print or trace on them like freezer paper sheets and fuse the shiny side to the wrong side of the applique fabric, but they stay in. After stitching, they dissolve in warm water, or soften over time if you leave them, so you never cut the background to take paper out. C&T lists them for inkjet printers.


English Paper Piecing
In English paper piecing, you wrap each fabric shape around a paper template, baste the edges, and whipstitch the shapes together. Freezer paper templates press onto the wrong side of the fabric, so the shape stays put without pins while you cut and baste. For a firmer template, press the printed sheet onto a second sheet before you cut out the shapes.
Missie Carpenter bastes with starch instead of thread. She presses a freezer paper template to the wrong side of the fabric, paints the seam allowance with starch, and presses it over the template edge with a mini iron. The starch holds the fold, so you can take the papers out before you sew the shapes together. Her book, Starch Basting Technique for English Paper Piecing, teaches the method for English paper piecing and applique shapes. She developed it with a stiffer freezer paper, two layers to a template, because the papers she tried first shrank and distorted under heat and starch.


Hand Piecing With Freezer Paper Templates
Freezer paper templates also work for traditional hand piecing, where you join pieces with a running stitch along a marked seam line. Press the template to the wrong side of the fabric, trace around it to mark the sewing line, cut the fabric 1/4 inch outside the line, and peel the template off to use on the next piece.
Linda Franz teaches this method in Quilted Diamonds 2, with 101 pieced diamonds, each named with a quotation from Jane Austen's novels, and a two-hour hand piecing lesson on DVD. The lessons apply to pieced hexagons and other designs as well. She later invented Inklingo, downloadable shape collections that print the cutting and sewing lines directly onto fabric pressed to freezer paper, so there is no template to trace around.


Foundation Paper Piecing Without Sewing Through Paper
Standard foundation paper piecing sews through the printed paper on the lines, with a short stitch so the paper tears away afterward. Freezer paper piecing uses the same pattern but never sews the paper.
Press the first fabric to the shiny side, fold the paper back along the next seam line, place the next fabric right sides together with the first, and sew right beside the fold. Unfold, press, fold back along the next line, and repeat. Because the needle never goes through the paper, you keep your usual stitch length, nothing has to come out of the seams, and the template peels off whole to use again.
If you prefer the sew-through method, Carol Doak's Foundation Paper is blank stock made for it. It is lightweight, runs through most inkjet printers, laser printers, and copiers, and tears away along the stitching.


Transferring Embroidery Designs
Freezer paper does not transfer a design by itself. Pressed to the back of the fabric, it holds the fabric flat and firm while you trace a design onto the front, and it peels off before you stitch.
To skip the tracing, Sulky's Stick 'n Stitch is a printable, self-adhesive, wash-away stabilizer. Print the design on a sheet, stick it on the fabric, stitch through it, and rinse it away in warm water. Sulky lists it for hand embroidery, cross stitch, punch needle, and marking quilting designs. WonderFil's Rinse Away Design Sheets do the same job, with a gridded backing for placing the design. Either way, the finished piece has to go in water.


Printing on Fabric
Freezer paper lets an inkjet printer feed a piece of fabric. Press a sheet to the wrong side of smooth, light-colored cotton, trim the fabric to the edges of the paper, and print. Peel the paper off once the ink dries. Inkjet ink on untreated cotton can fade or run in the wash, so this method suits pieces that will rarely be washed.
For quilt labels, photo quilts, and anything that goes in the laundry, EQ Printables from Electric Quilt Company come ready to print: cotton fabric on a peel-off backing. Print, let the ink dry, peel off the backing, and soak the fabric in cool water for 10 minutes. Electric Quilt lists the printed fabric as washable and dry cleanable. The cotton lawn is 240 thread count, fine enough that the weave does not show in a printed photo. EQ Printables also come as a 283-thread-count cotton satin with a bit more body and an 8 1/2 x 120 inch cotton roll you cut to the length you need.


For surfaces that cannot go through a printer, Lesley Riley's TAP Transfer Artist Paper moves an image with an iron. Print, paint, stamp, or draw on a sheet, then iron it onto fabric, paper, wood, glass, or metal. C&T lists transfers on fabric as washable and crack-resistant. The image flips when it transfers, so print lettering in reverse. Each pack has 18 sheets and a sample sheet of silicone release paper to protect the iron and ironing board.


Stencils
Freezer paper makes a single-use stencil for fabric paint. Trace the design on the dull side, cut out the areas you want painted with a craft knife, and press the stencil shiny side down on the fabric, ironing every edge. The bonded edge keeps paint from seeping under the stencil, so the lines come out sharp. Dab the paint on with an up-and-down motion rather than brushing across the edge, let it dry, and peel the stencil off. Heat set the paint as its maker directs.
The Bottom Line
For applique templates and English paper piecing shapes, print them on freezer paper sheets and press them on. For applique that stays in the quilt, use Wash-Away Applique Sheets. For foundation piecing with no paper to tear out, fold freezer paper and sew beside it; to sew through the paper, use Carol Doak's Foundation Paper. For embroidery designs, print on Stick 'n Stitch instead of tracing. For printed labels and photos that will be washed, use EQ Printables, and for images on other surfaces, use TAP.
Whatever the job, the printing goes on the dull side, the shiny side goes against the fabric, and the sheets stay out of laser printers.
Updated October 31, 2026